
There is nothing more breathtaking than standing under a canopy of brilliant stars on a dark country road on a hot summer night.
I’ve always wanted to photograph the night sky. After reading an article in National Geographic on how to photograph the Milky Way I decided to give it a try.
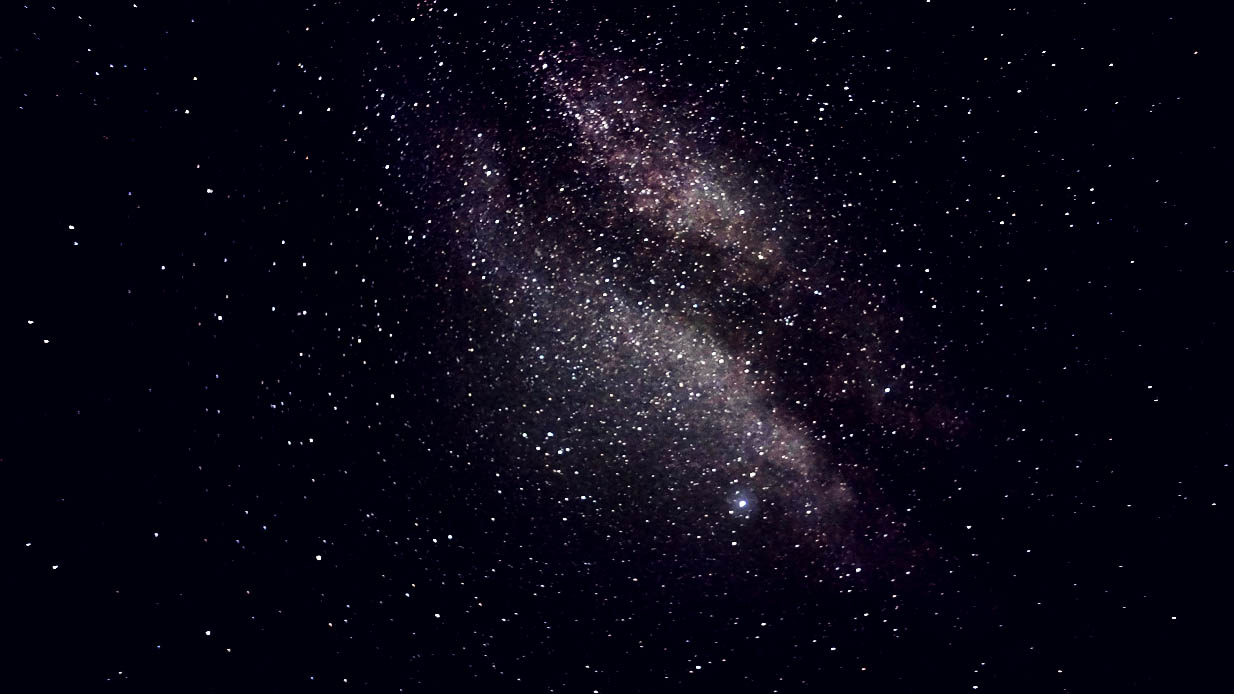
I waited for the perfect conditions. Clear night, no moon. I scouted out the perfect spot—an isolated dark road on the edge of Falcon Lake Manitoba. I set my ISO at 6400, shutter speed at 60 seconds, and put on a f2.8 wide lens. With my camera firmly on a tripod, I opened the Star Walk App on my iPhone to confirm the location of the star cluster I was after. There it was. I pointed the lens toward the cloud of stars and Ta Da!
Well let’s be honest. It wasn’t that easy.
The first problem I ran into after snapping off a few shots was when I decided to adjust my focus. I had set it for infinity while it was still light out but I felt that it might have been off a bit. So for some reason I adjusted the focus.
Lesson. Trying to focus a night shot is brutal.
I couldn’t see a thing through that tiny view finder—nor could I see anything but crawly grainy pixels on the small screen on the back of my camera. No matter how much I turned the lens, the result was the same. Desperate, I snapped off a series of shots with random focuses but I knew I needed a bright light far away if I had half a chance to get it right.
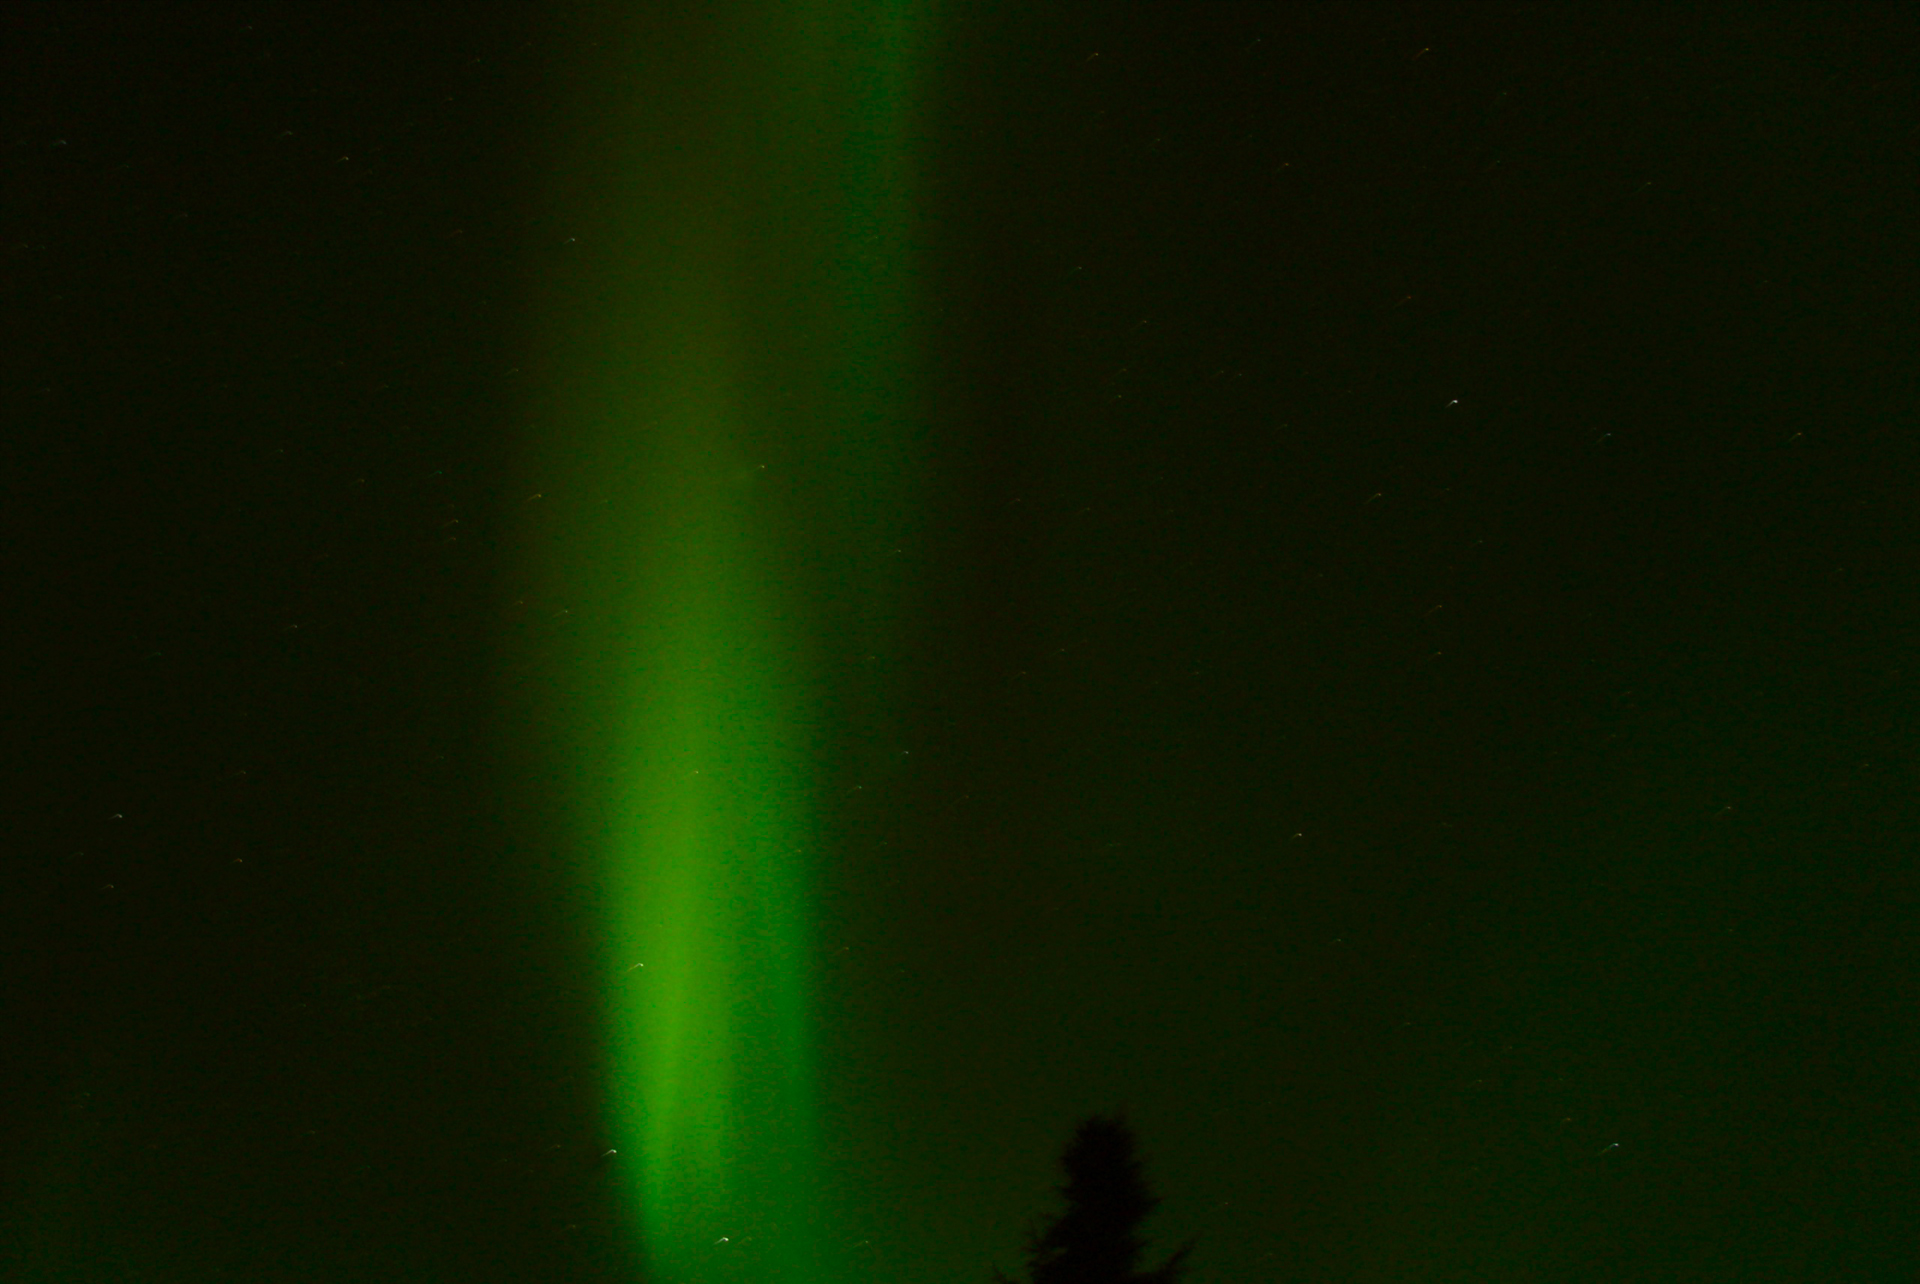
I spun my camera around to use the lights on the beach across the lake for a focus. Wow. Right behind me the Aurora Borealis or Northern Lights dancing over the town site. I was tempted to change my plans but I set my focus using the town lights for the Milky Way shots. Once I was satisfied, sticking to my mantra—never miss an opportunity—I captured these photos of the Milky Way.
Falcon Lake Beach Manitoba 2014
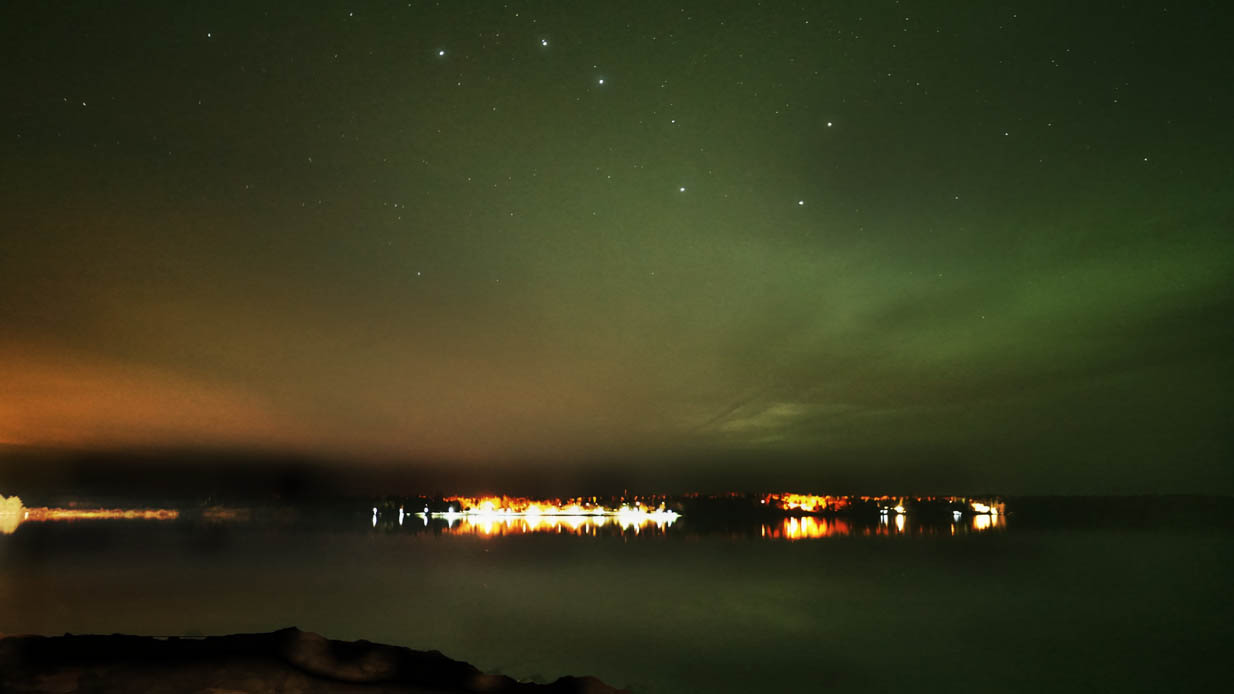
First I fired off a few images of the Northern Lights with the settings I already had for the Milky Way to experiment with later, but to make sure I got this shot I changed the camera settings to ones I had success with in the past.
ISO800, shutter at 20 seconds and the f2.8 wide angle lens.
Because my camera shows the results of my changes in the view finder, I always review, then fine tune my settings from there. I learned that, in the case of the Northern Lights, not all settings are cast in stone. You have to keep experimenting with different settings. The shot below was captured with a Sony Cybershot with a ISO100, auto shutter, f2. I love the smoothness of the shot without any photoshopping; just a little brightness, contrast, dodging and burning.

That same night we shot some video.
We had waited a couple of years for the Northern Lights to be bright enough to attempt to capture them on video as it is much more difficult. We had a Sony X D Cam PMW350. To get a higher bit rate we recorded to a Nanoflash. It’s in High Def so it might take a moment to load.
https://vimeo.com/109415532/settings
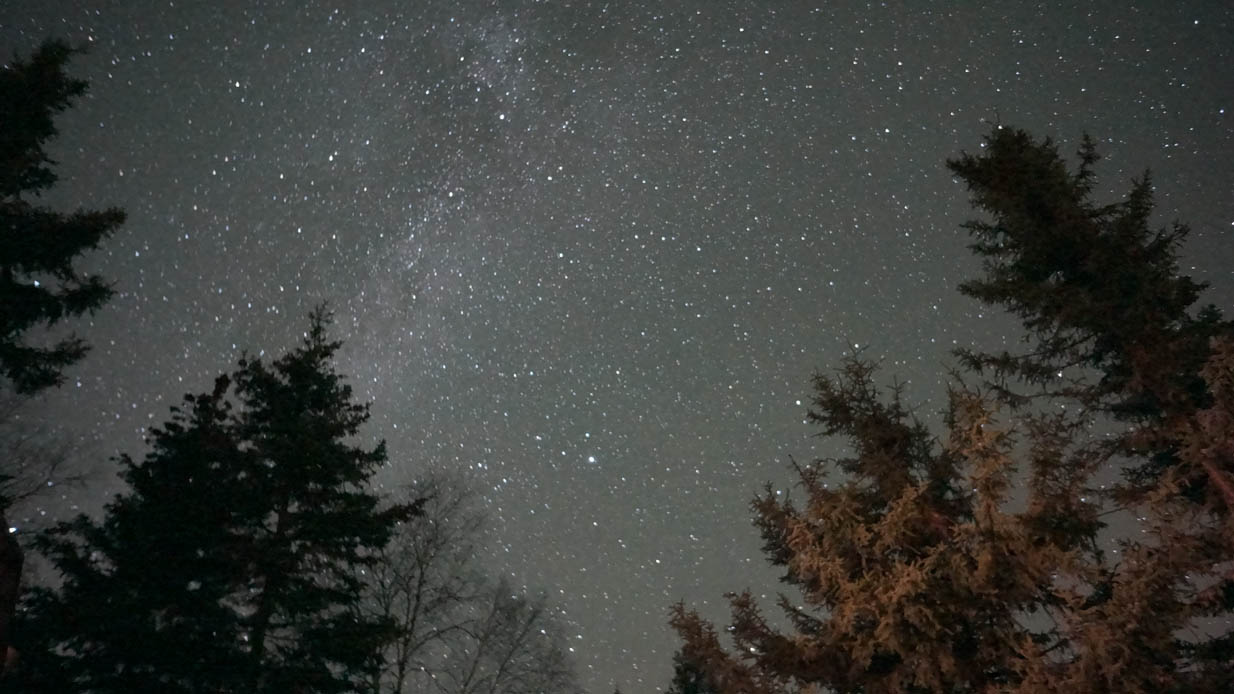
These next shots were captured with the Sony NEX-7 with an ISO800 and shutter speed of 20 seconds.
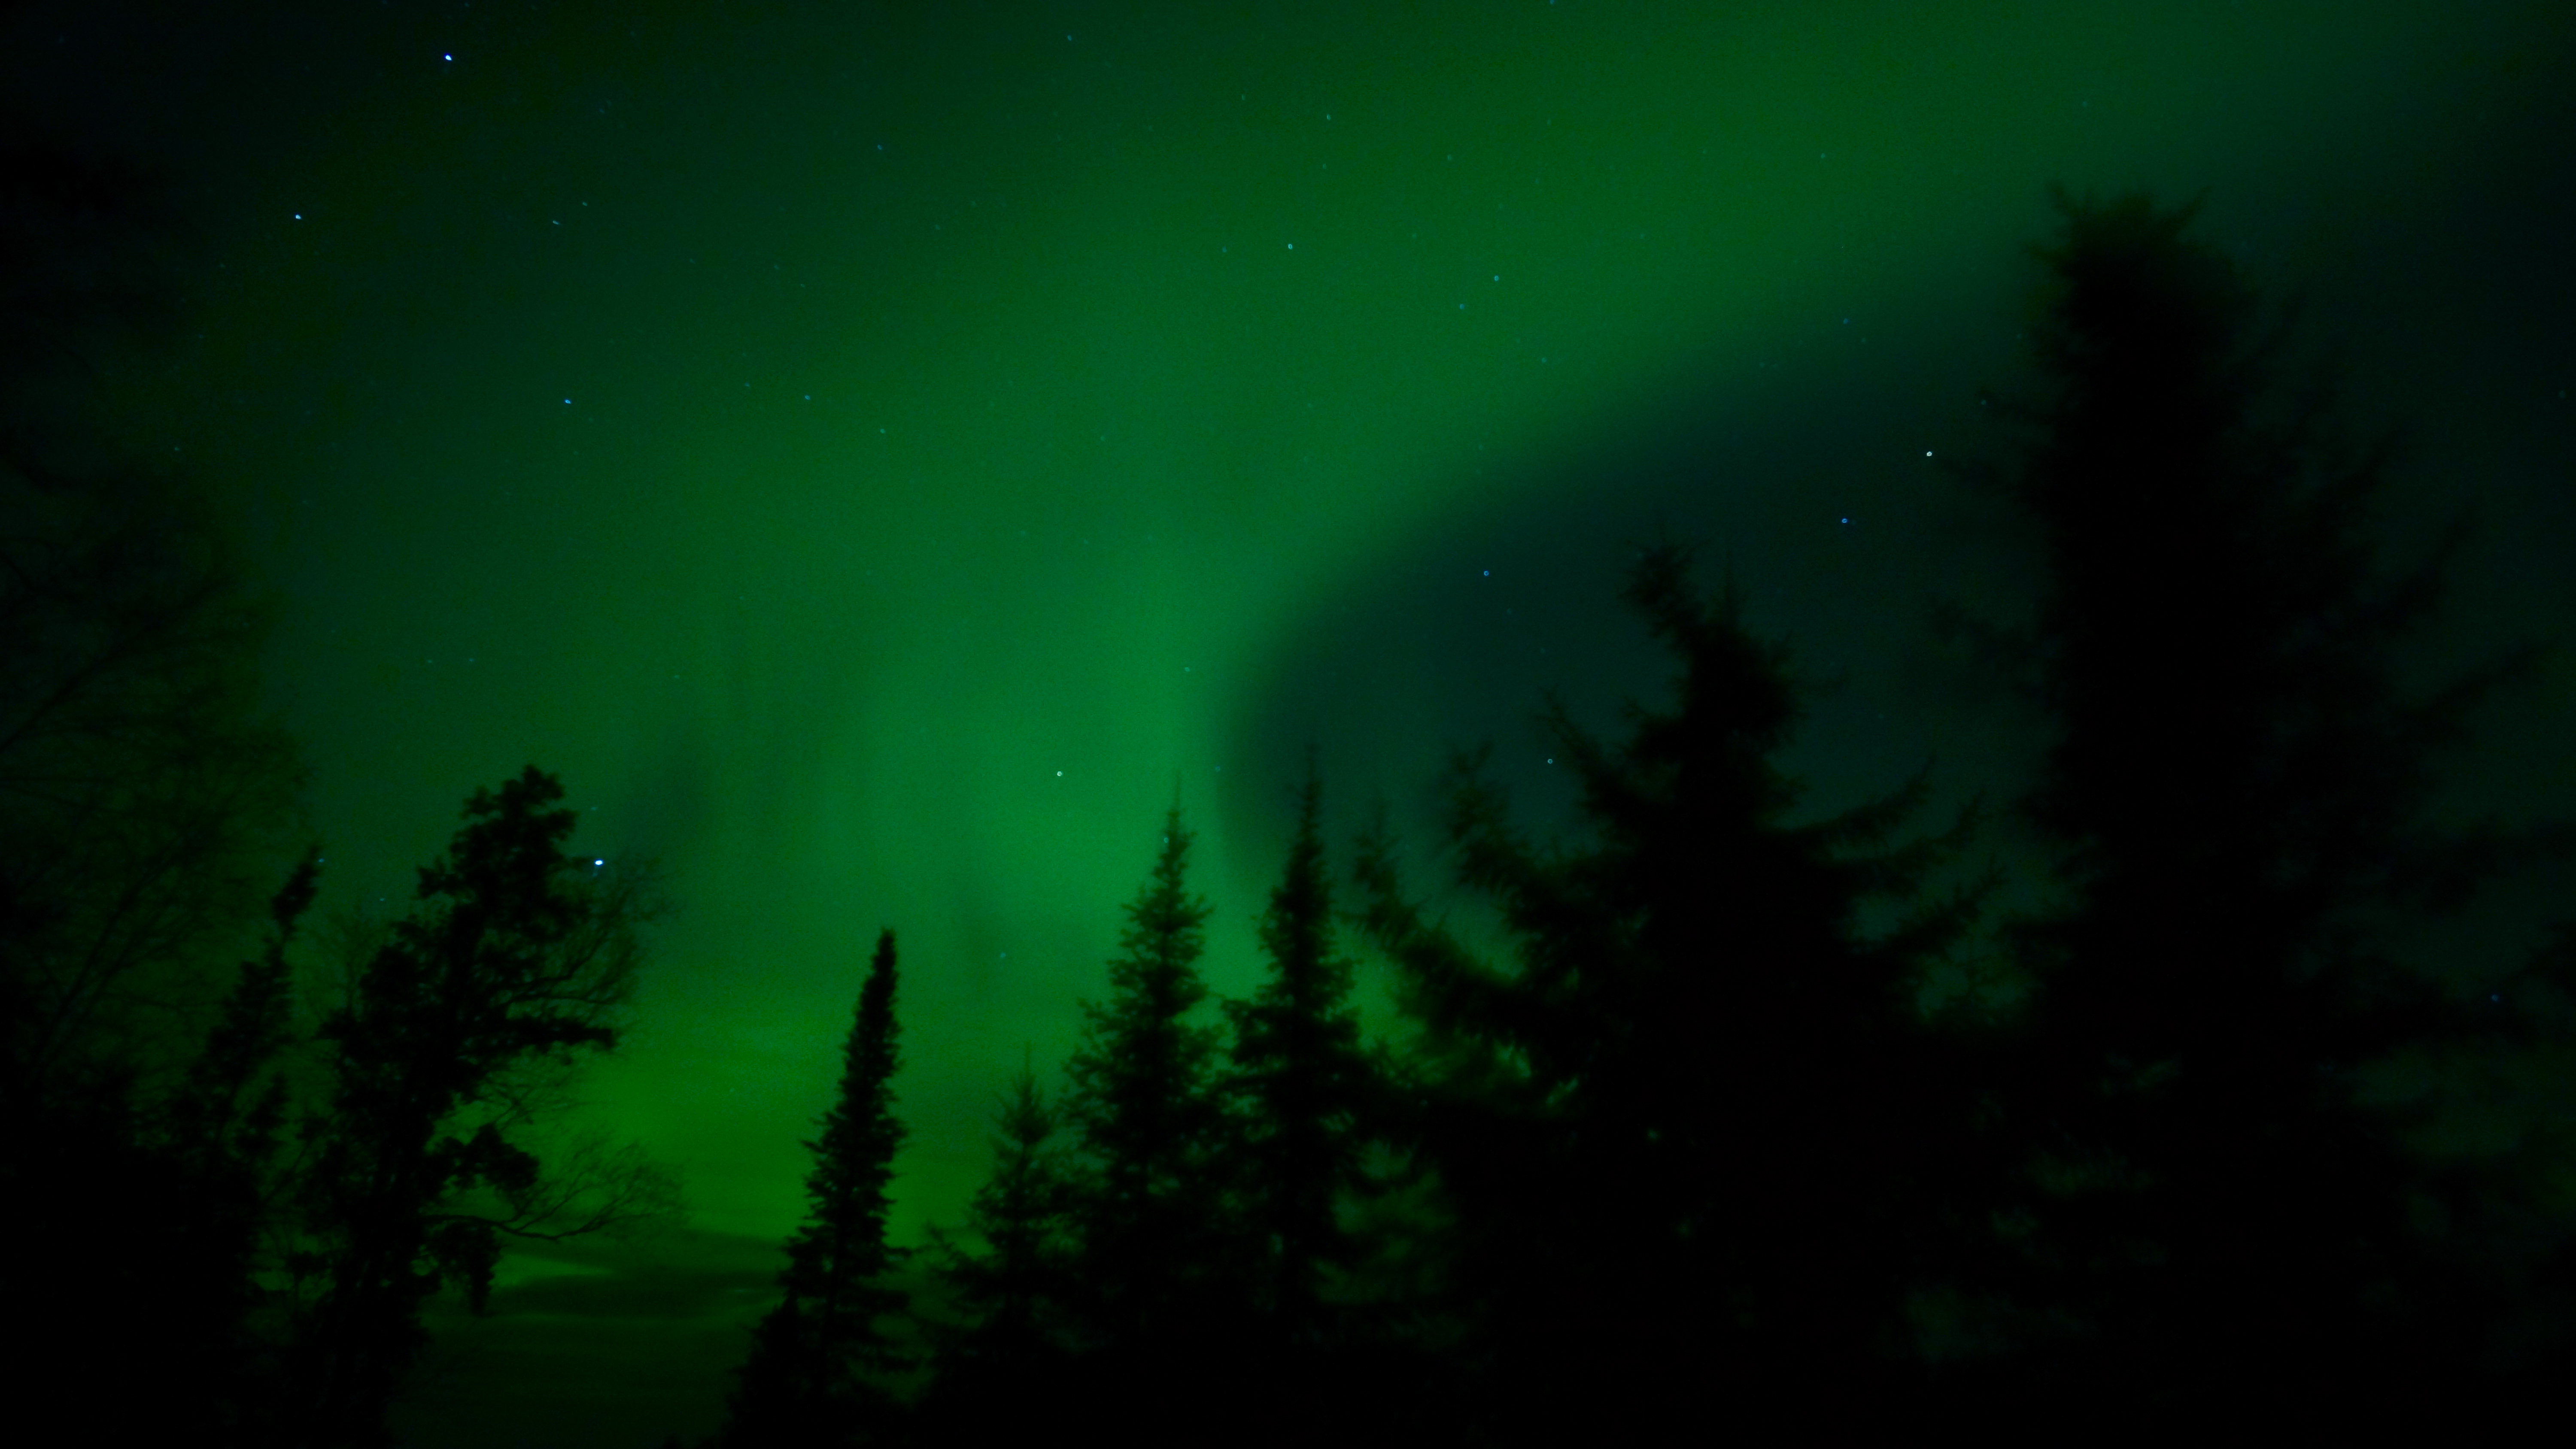
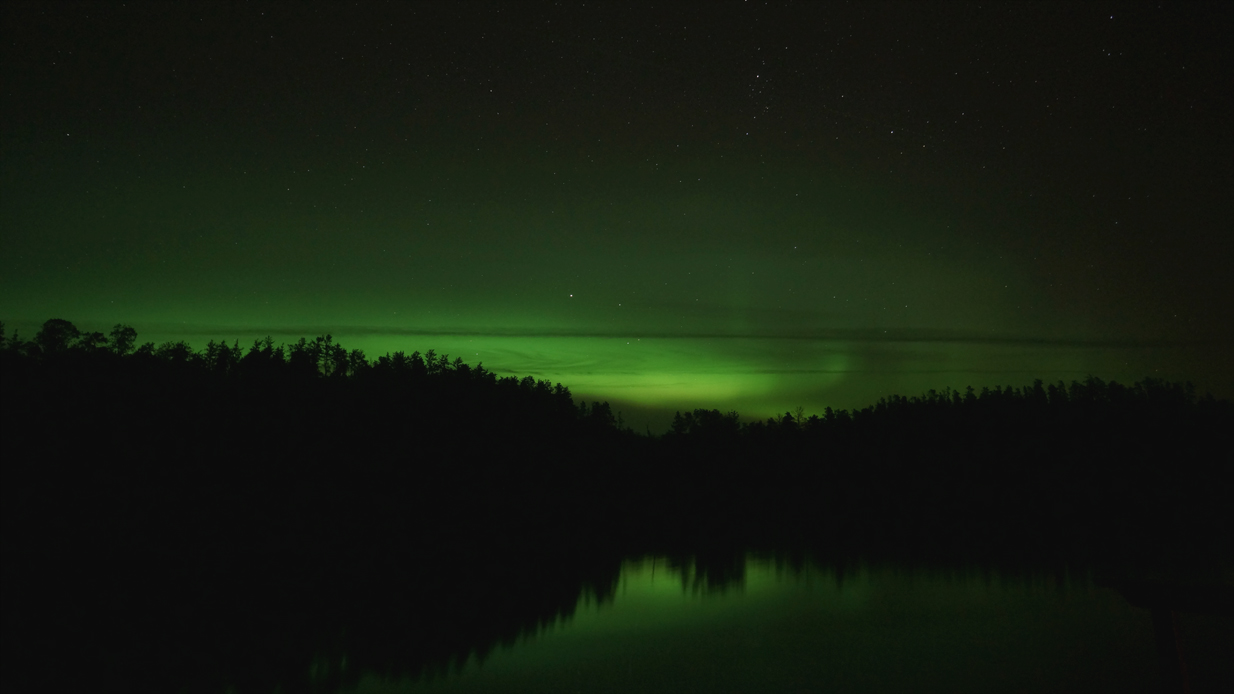
The key is experimentation. I always start with a predetermined setting then adjust from there. I take lots of shots.
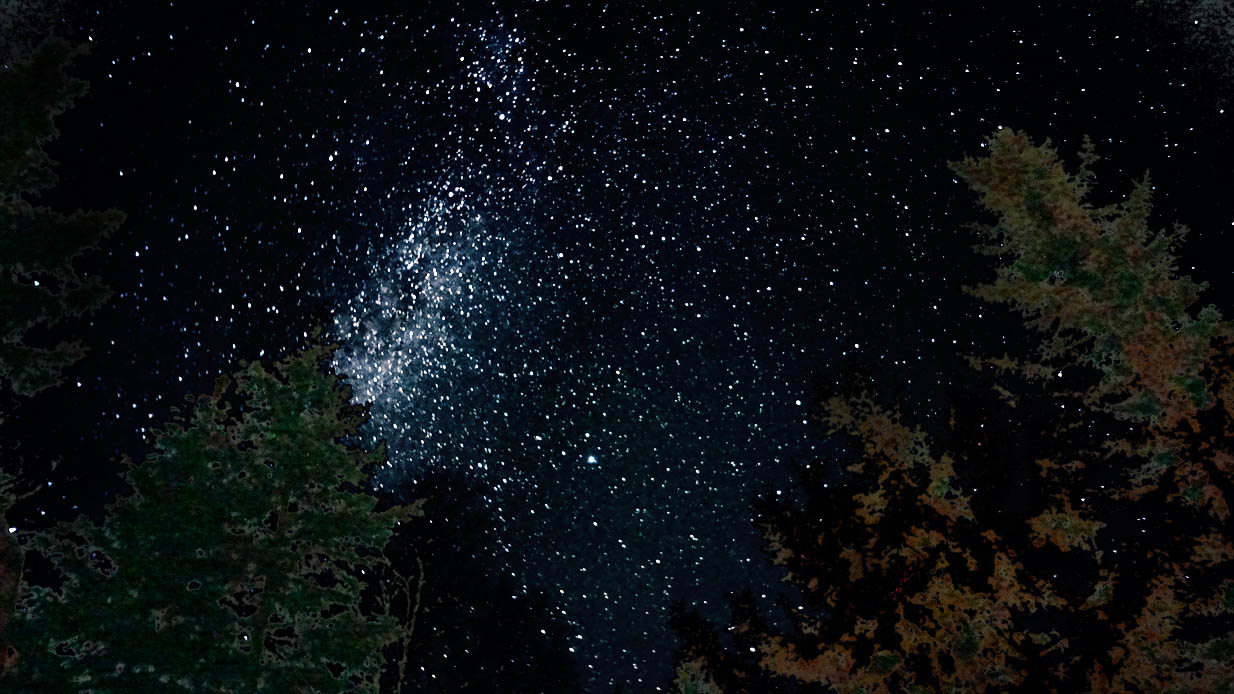
Below is a shot I took the next night with the same ISO6400 and 60 second shutter speed and I mentioned earlier.
It certainly wasn’t as brilliant as it looked live. Any darker, the stars disappear. The National Geographic article didn’t mention that these shots require post work but I figured that was the case. Looking for resources on the Internet, I came across a great tutorial on how to edit the Milky Way in Photoshop. It turns out that my original exposure was ideal. Below is the same shot after I applied the techniques I learned in the tutorial. It’s not perfect but at least there is definition on the Milky Way star cluster.
While I was in Photoshop I decided to experiment with adding some context to the image other than trees. So I took a night shot of my cabin from the lake, went into Photoshop and replaced the sky in the cabin shot with my photoshopped fixed Milky Way image.

Hey, some call it cheating. I call it fun. The shot isn’t for anyone anyhow, it’s just for me so who cares how I got it. It’s the Milky Way over my cabin. How cool is that?
